It is Finished!
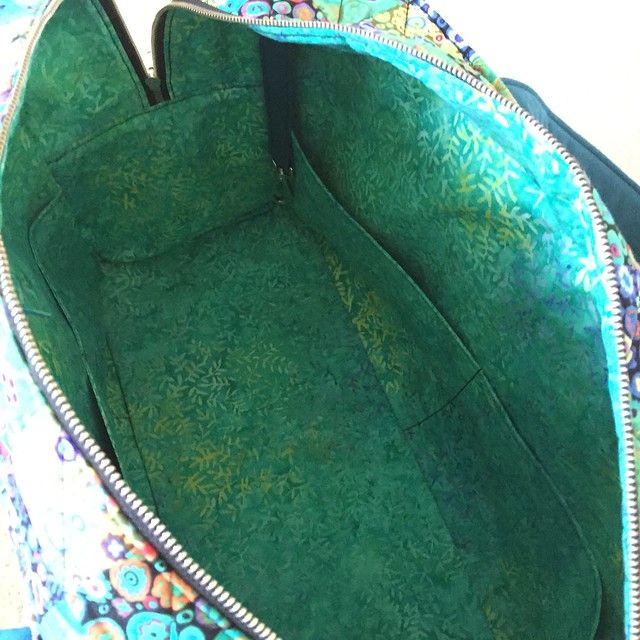
On the inside of the bag (yes, I think if I folded him carefully, I could fit a Golden Retriever in here) there are five slip pockets. The two you see above are big enough to hold my iPad and/or a magazine. You can also see the key clip dangling at the top of the picture. I suppose you could also clip other things to it as well.
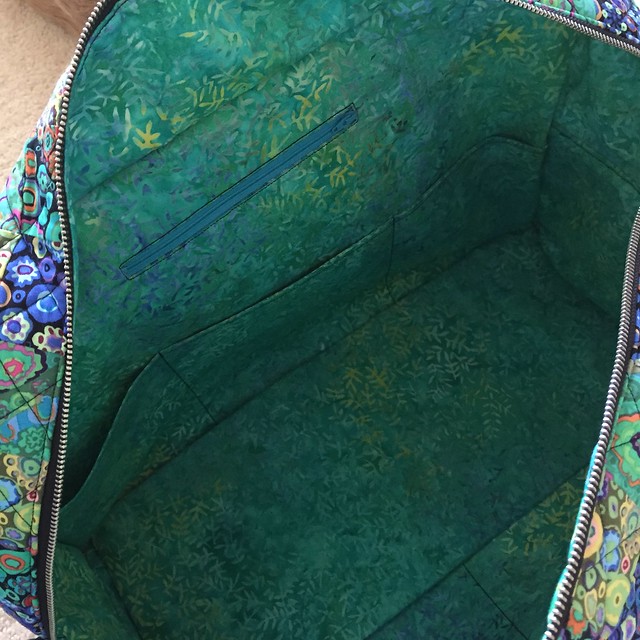
On the other side of the interior are the other three slip pockets. They are all deep enough that stuff won’t fall out easily. You can also see the zipper pocket I made. The zipper pocket and the key clip weren’t in the pattern, I just decided they needed to be there. Just because.
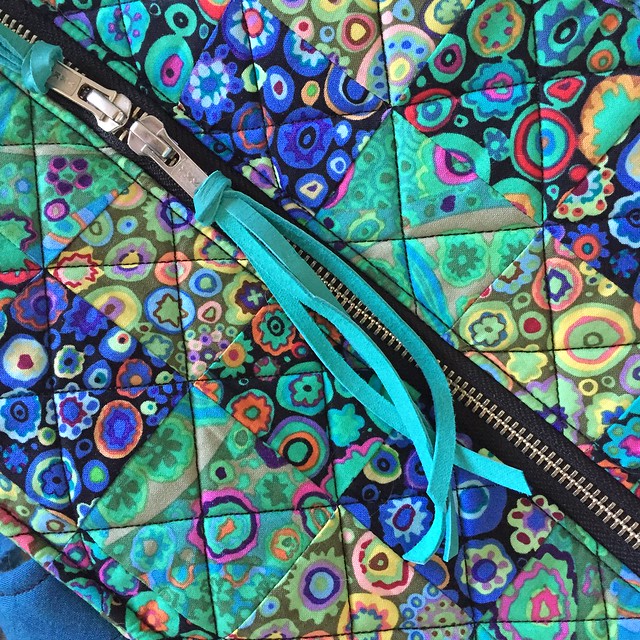
I added some leather ties to the zippers just for fun. They can work as zipper pulls or just as fun tassels. I used a face to face zipper so I could unzip from either end.
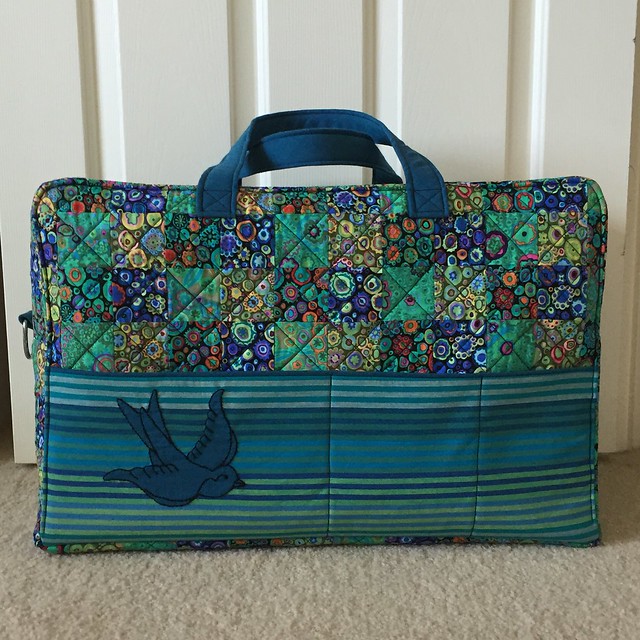
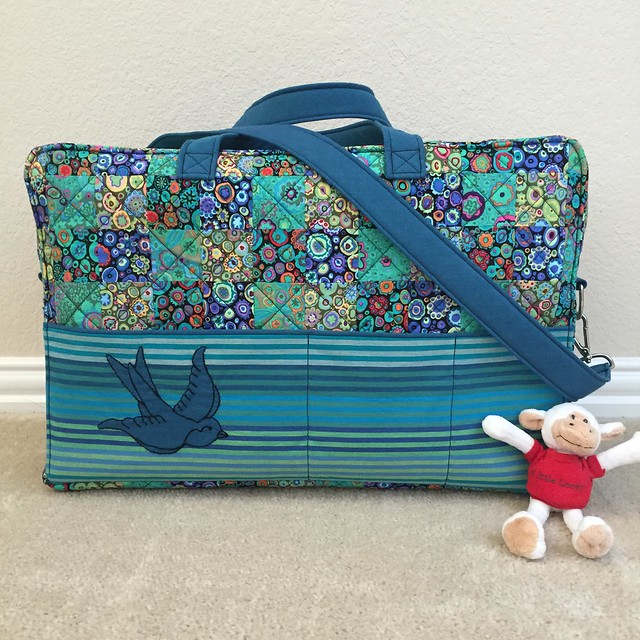
Here is the front of the bag. There are three slip pockets on the front, and three on the back (but no sparrow on the back). The large pocket with the sparrow will hold another magazine or a folder. On the left side of the bag, you can see the tab and D-ring, which is for the long strap, shown in the picture below.
The bag is carry-on compliant, although this is going to have to go in the overhead bin - it won’t fit under the seat. I really think I could probably pack for a week in this bag without any trouble. I certainly won’t get lost in the airport!
Labels: Camp Loopy 2015, sewing
posted by Melanie at 8:21 AM
![]()


3 Comments:
Of all the projects made from this pattern (including the pattern photo), this is the nicest one, both in fabric choices and in construction. You pay such great attention to detail. Beautiful job!
I love this bag! It makes me want to make one too...
That is a beautiful bag. Nicely done! I love all the pockets.
Post a Comment
<< Home